

Google display ad campaigns can be very effective. You will often find that your click costs are much lower than with search ads. One thing that is tricky when setting up these types of ads is that you have to account for all the different ad sizes where your ad could possibly be displayed. It used to be that you had to actually create different sizes of images to accommodate different ad spaces. Now Google lets you create responsive ads that automatically resize for the ad space. The following series of images demonstrate exactly how to set these up.
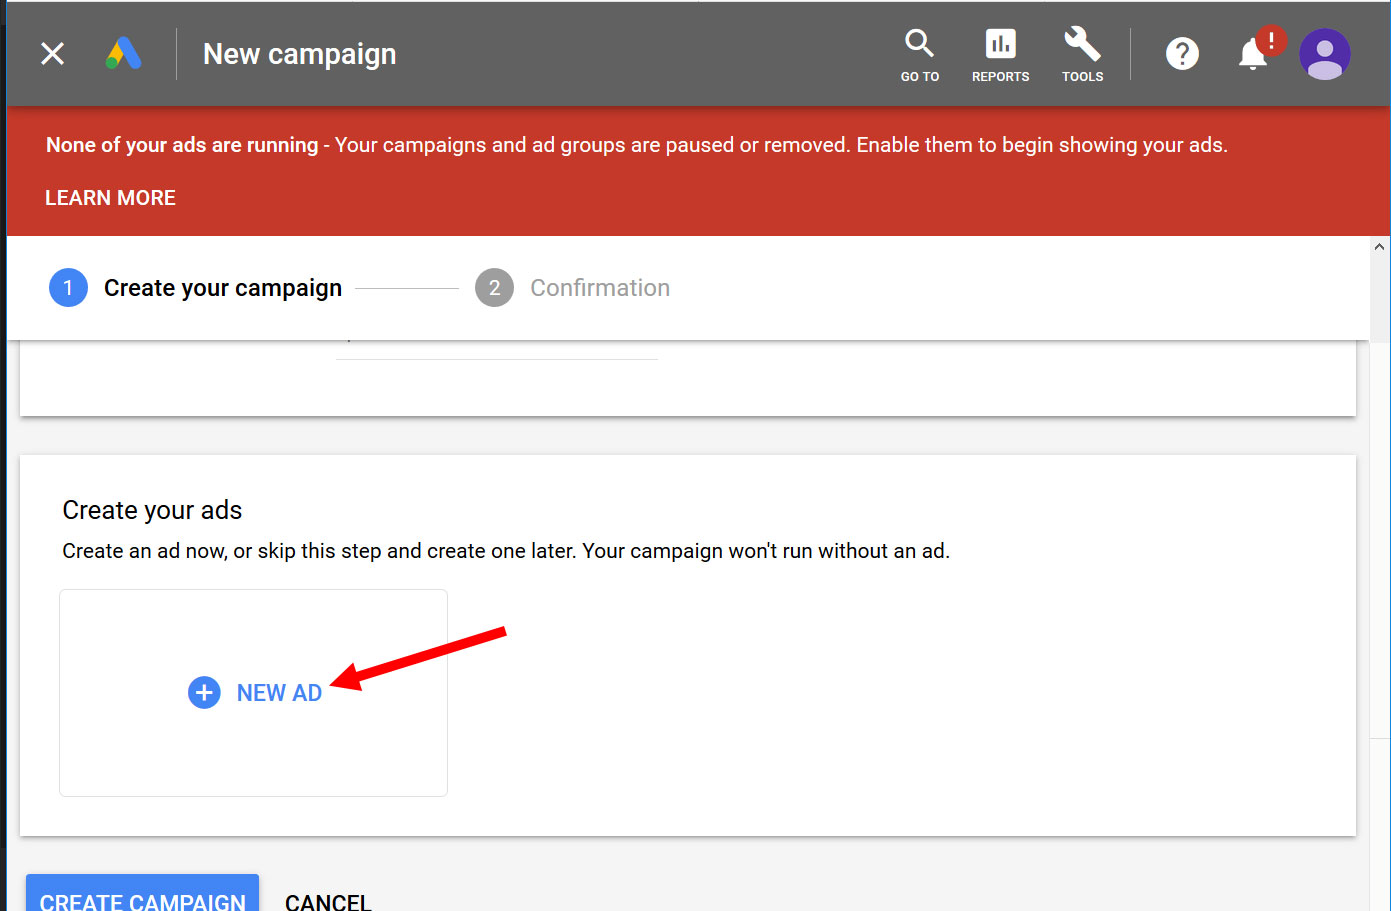
After selecting a display image campaign type, click the + New Ad button to begin setting up a responsive ad.
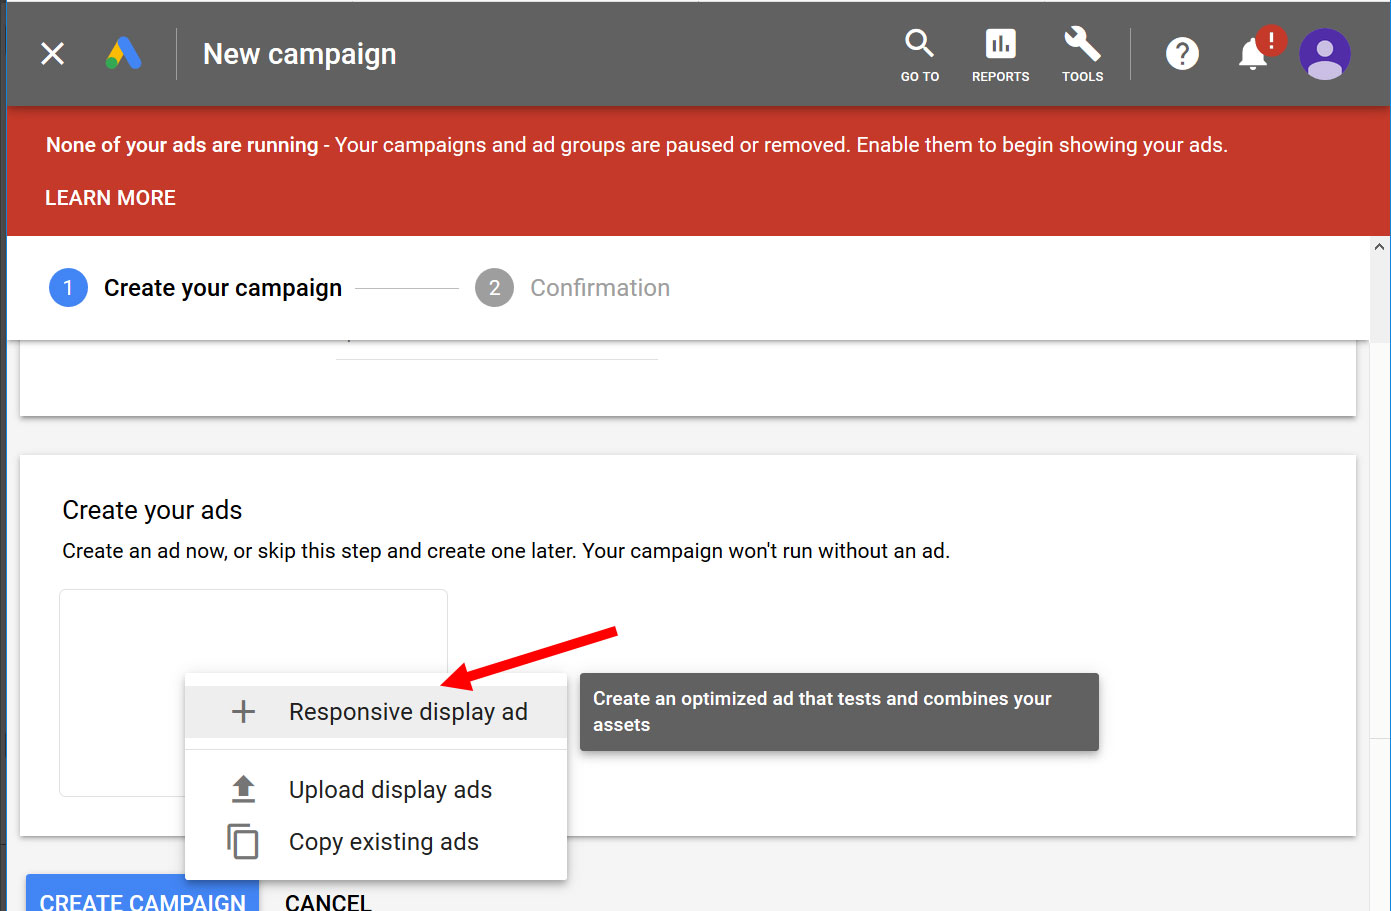
You have the option of uploading static images or creating a responsive ad. Click + Responsive display ad.
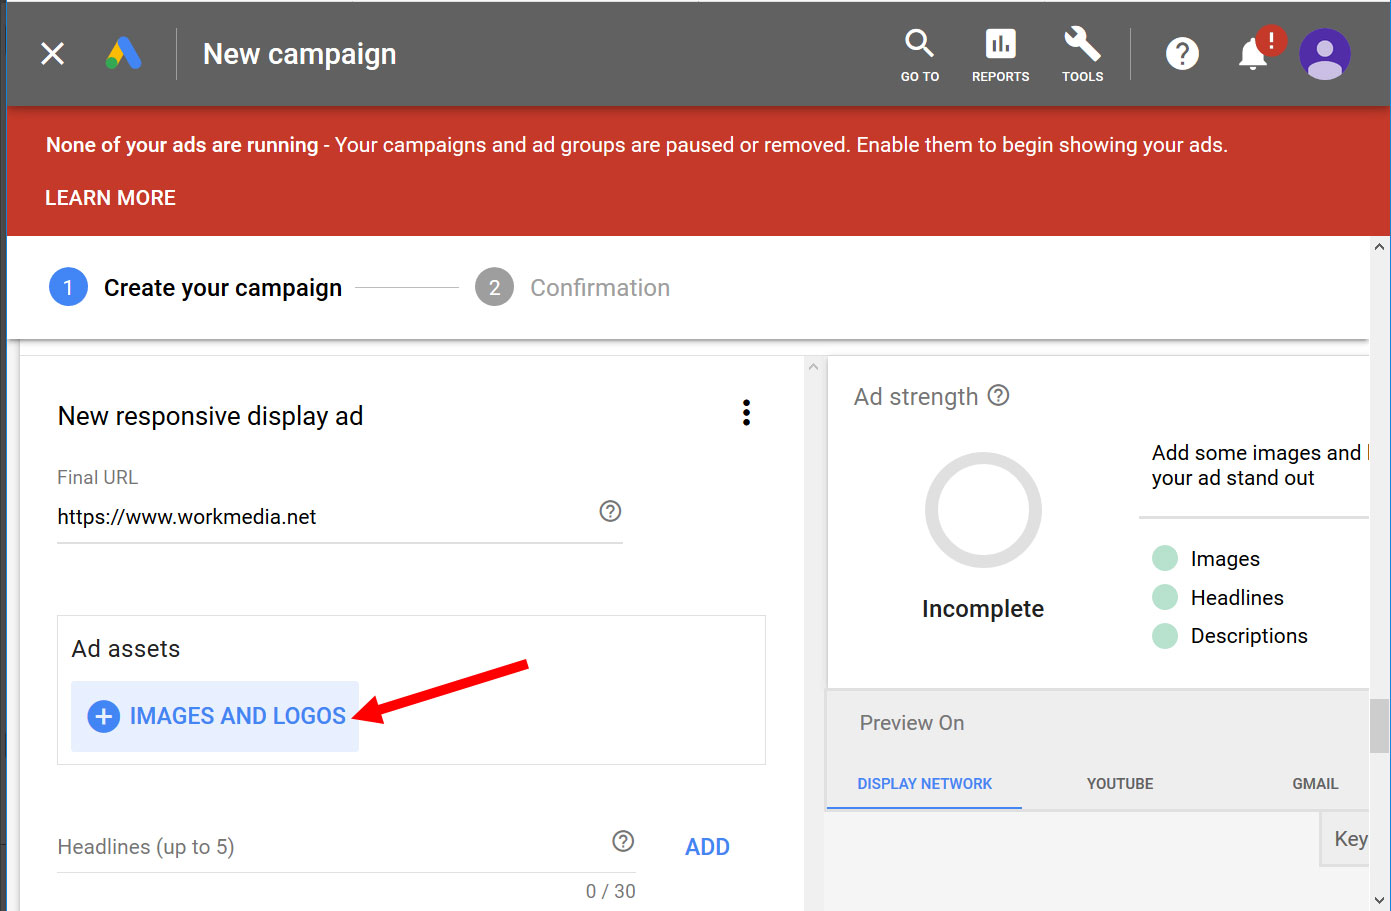
Type the destination URL for clicks on your ad, and then click the + Images and Logos button to begin adding images that will be used in your ad.
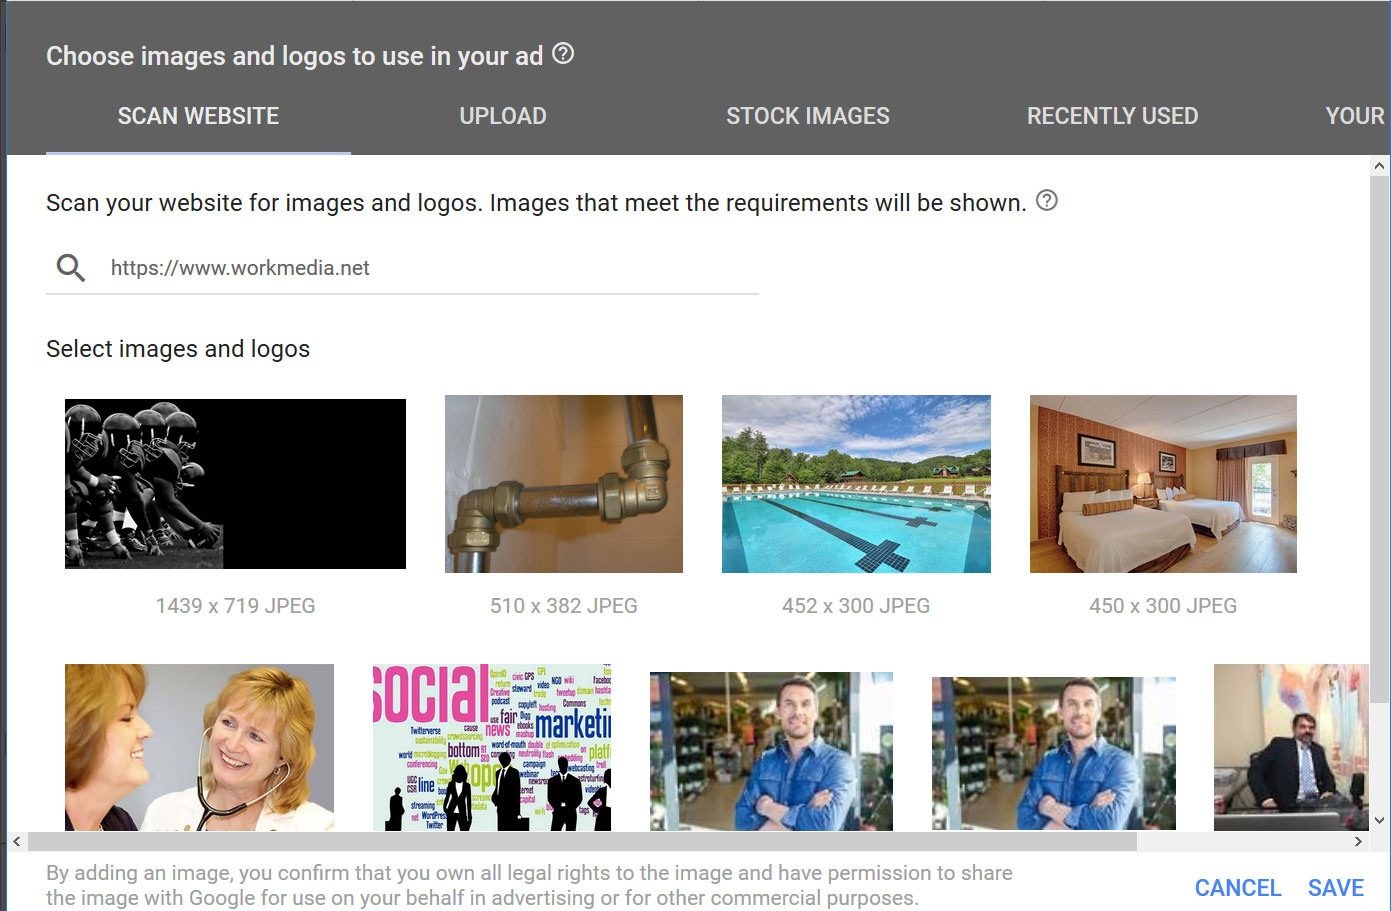
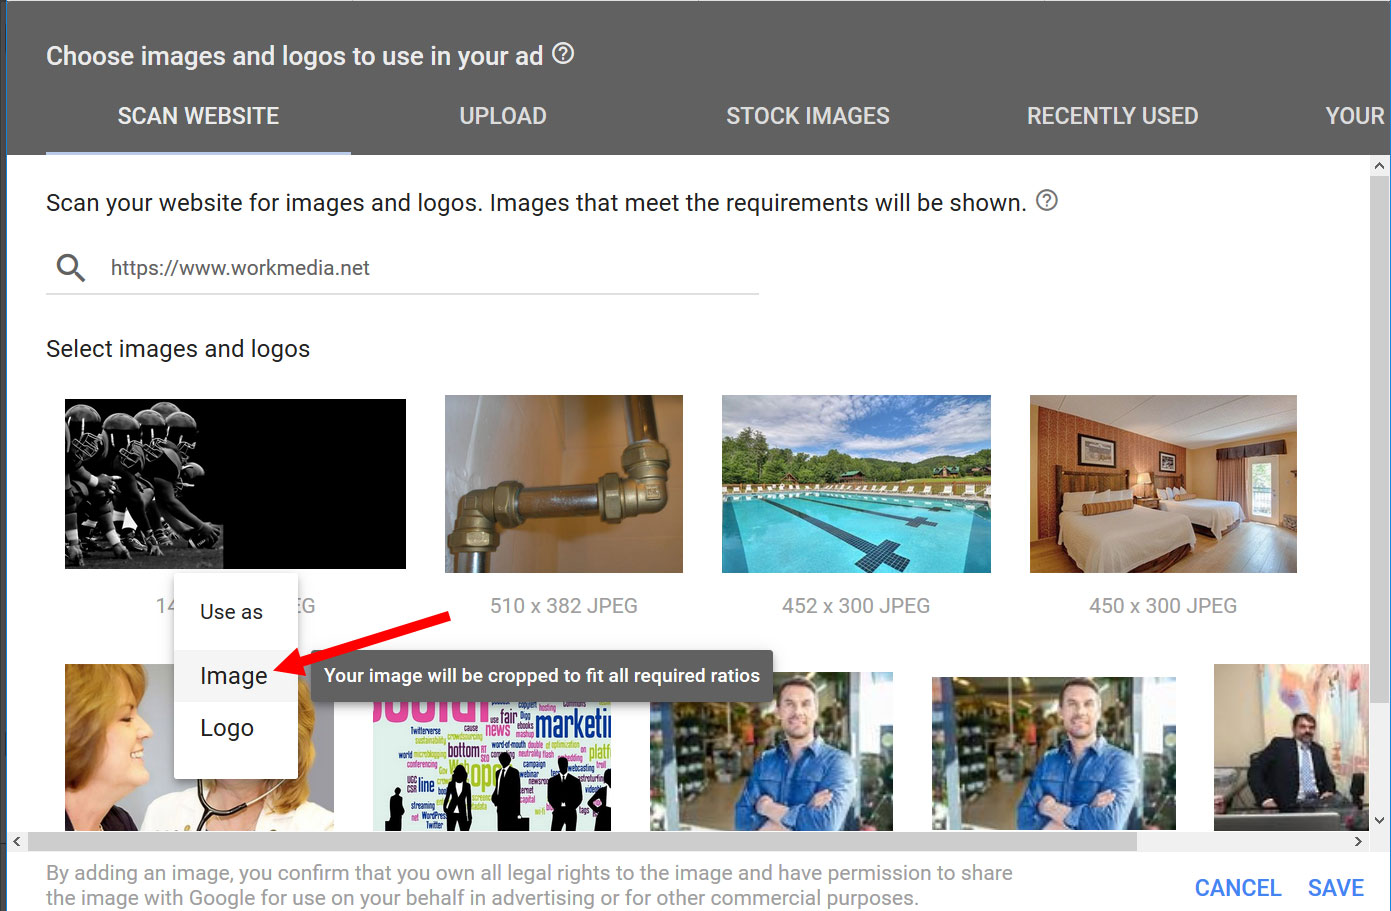
Google will scan your website to look for images to upload. If it finds images from your site that will work well, then that is awesome! But if you need to upload the images, click the Upload button to upload an image from your computer. You can also use stock images available from Google.
Click on the image you want to use and select Image or Logo. You can use separate images to represent the main graphic in the ad and the logo used in the ad, but you have to tell Google which is which, as shown below.
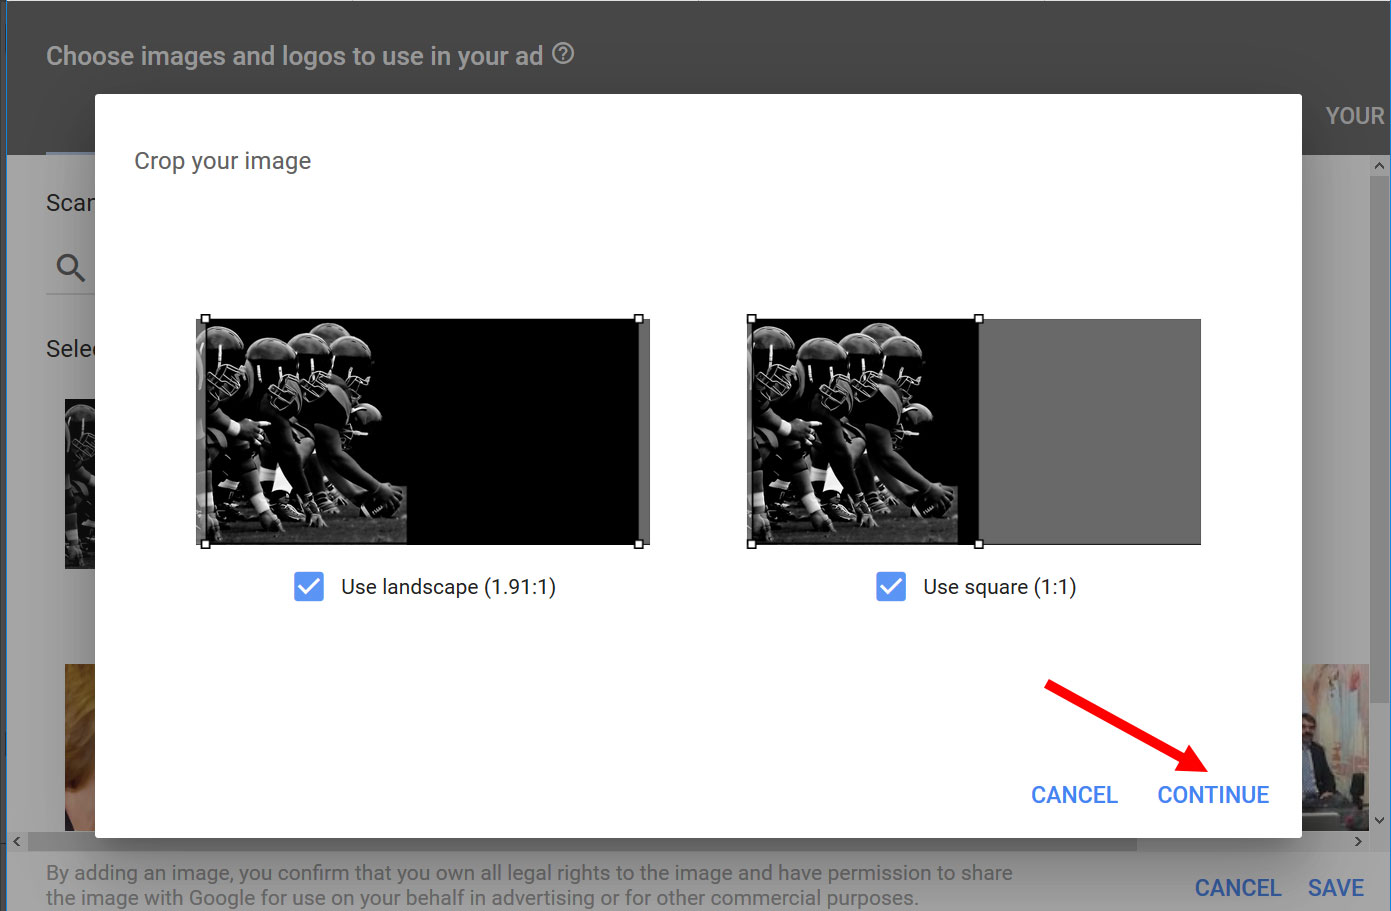
Your image will have to work in both landscape mode as well as square mode. If you image does not work both ways, you can upload a separate image for landscape versus square. Once you have made this selection, as shown below, click Continue.
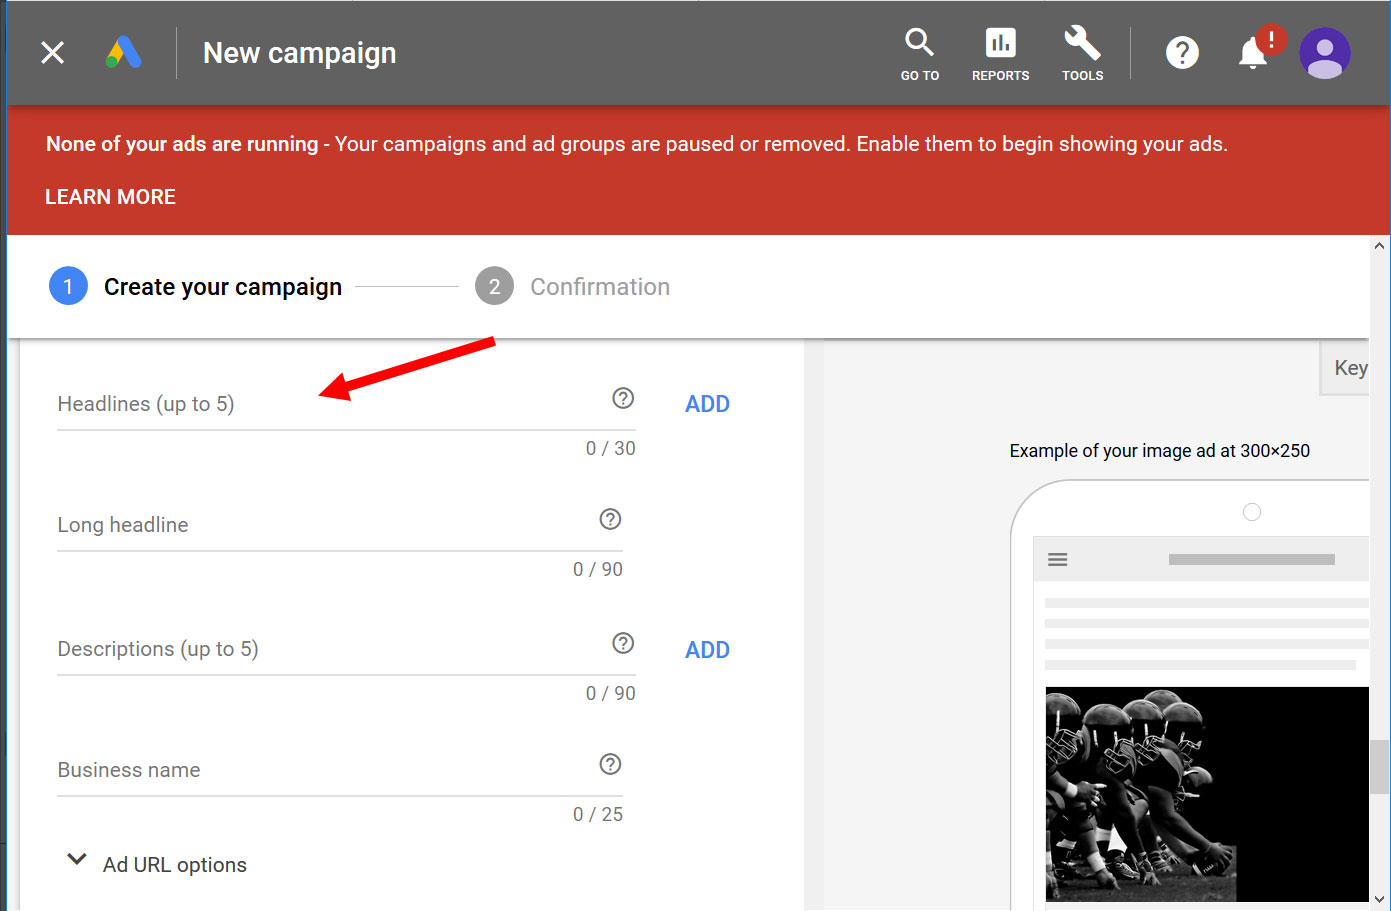
Once your images are set, you then add text for the ad. What you are going to do is add multiple headlines and descriptions so that Google can mix and match to help you find the combination of imagery and copy that generates the best results.
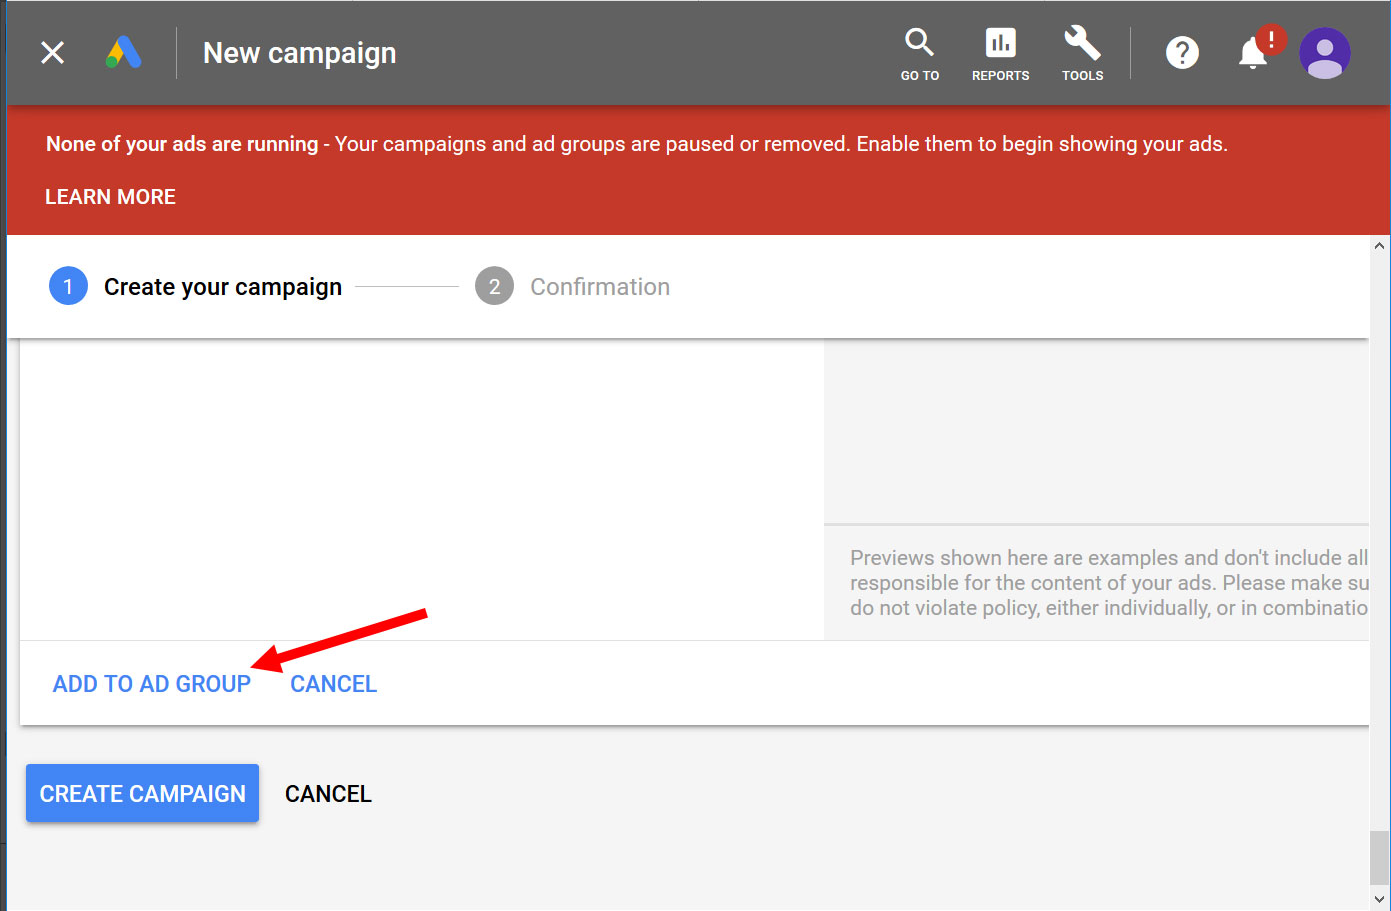
Once all the information has been added, just click the Add to Ad Group button to save the ad to the ad group.
And that’s it! Creating display ads this way saves you a ton of time because you don’t have to create separate image ads to account for every different ad size. You can let Google do the work for you. And you just may have better results with this type of ad. Good luck!
Need some help setting up this type of marketing campaign for your business? We’re here to help. Contact Work Media today and let’s get started using Google display ads to drive profitable traffic to your website!